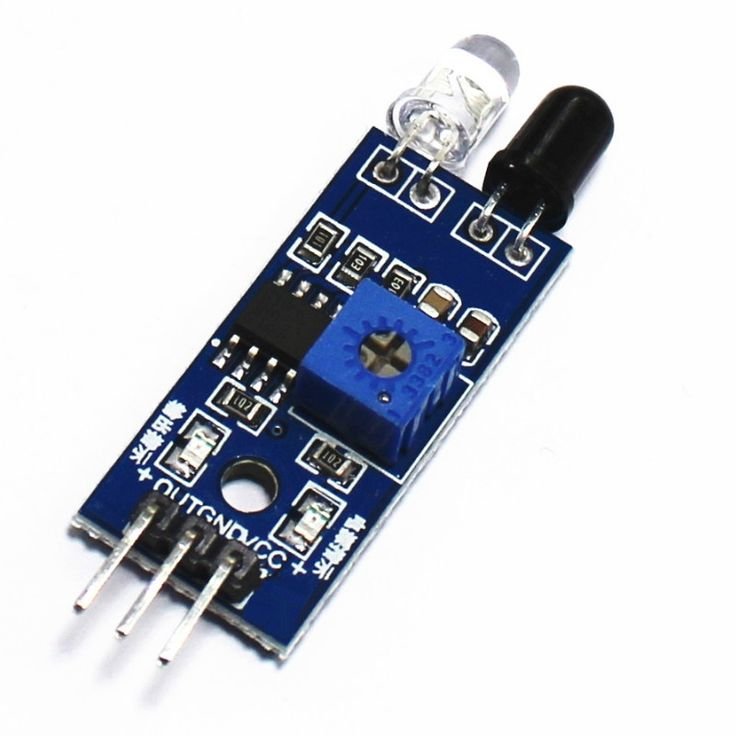
Overview
The Obstacle Infrared Sensor uses infrared light to detect nearby objects, making it an essential component for robotics and automation. This sensor is perfect for beginners and experts alike, providing accurate distance measurements and obstacle detection capabilities.
What's in the box
- 1 x Obstacle Infrared Sensor
- 1 x User Manual
Key features
- Easy to use and integrate into projects
- Detects obstacles within a range of 2 to 30 cm
- Low power consumption for extended usage
- Compatible with Arduino and Raspberry Pi
- Compact design for easy placement
- Robust performance in various lighting conditions
How it works
The Obstacle Infrared Sensor emits infrared light and measures the reflection from nearby objects. When an object is detected within its range, the sensor sends a signal to the connected microcontroller, allowing it to take appropriate action, such as stopping a robot or triggering an alert.
Getting started
- Connect the sensor to your microcontroller using the provided pins.
- Upload the sample code to your microcontroller.
- Power on the system and observe the sensor's response to obstacles.
- Adjust the sensor position for optimal detection.
Wiring / connections
Connect the sensor's VCC pin to the power supply (typically 5V), the GND pin to ground, and the OUT pin to a digital input on your microcontroller.
Tips & troubleshooting
- Ensure the sensor is not obstructed by other components.
- Test in different lighting conditions to confirm reliability.
- Adjust the angle of the sensor for better detection.
Safety notes
Handle the sensor with care and avoid exposing it to extreme temperatures or moisture.