
Overview
The 1.3 inch OLED Display is a versatile and compact screen designed for makers and hobbyists. With its high resolution and I2C compatibility, it is perfect for a wide range of projects, from simple displays to complex IoT applications.
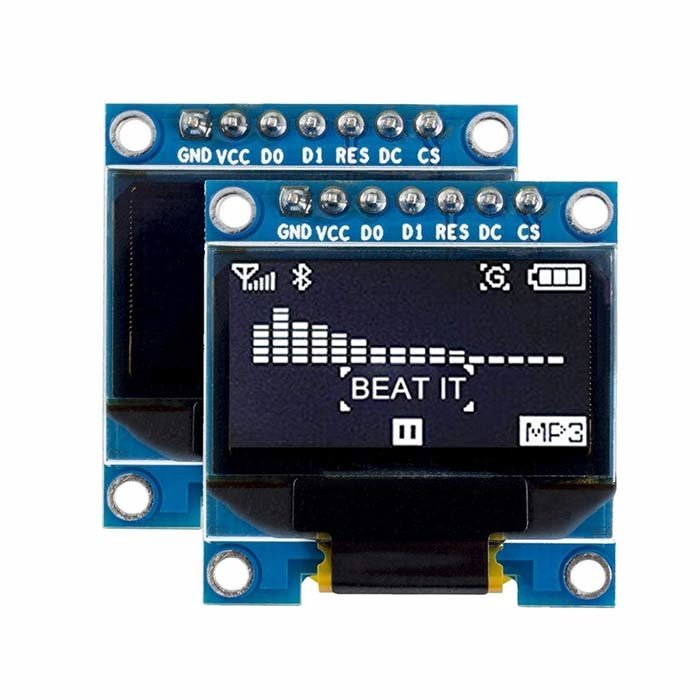
What's in the box
- 1 x 1.3 inch OLED Display
- 1 x I2C connection cable
- 1 x User manual
Key features
- High resolution of 128x64 pixels
- Supports I2C communication for easy integration
- Compact size, ideal for portable projects
- Low power consumption
- Wide viewing angle
- Compatible with Arduino and ESP32
How it works
The OLED display operates using organic light-emitting diodes, which allow for bright colors and deep blacks. It connects via I2C, making it easy to interface with microcontrollers like Arduino and ESP32. The display can show text, graphics, and animations, making it highly versatile for various applications.
Getting started
- Connect the OLED display to your microcontroller using the I2C cable.
- Install the necessary libraries for your microcontroller (e.g., Adafruit SSD1306 for Arduino).
- Upload a sample code to test the display functionality.
- Customize the code to display your desired information.
Wiring / connections
Connect the VCC pin of the OLED to the 3.3V or 5V power supply of your microcontroller. Connect the GND pin to the ground. The SDA and SCL pins should be connected to the corresponding I2C pins on your microcontroller.
Tips & troubleshooting
- Ensure the connections are secure to avoid display issues.
- Check the I2C address if the display does not show up.
- Adjust the contrast settings in your code if the display is too dim.
Safety notes
Handle the display with care to avoid damaging the OLED panel. Avoid exposing it to moisture or extreme temperatures.